Showing posts with label School. Show all posts

Friday, February 20, 2015

DIY Personalized Beach Pails


Personalized Beach Pails How to
how to beach pail personalized
At a relatively cheap price, you can create these personalized pails. They make great end of the year gifts for students or favors for birthday parties. The personalization is an easy and quick way to kick them up a notch. 
Supplies
  • Pails : The one used below came from the 99 cents store for $1.49. There is no reason to spend more. A plastic pail is a plastic pail. 
  • Elmer's Painters: I purchased these on Ebay in assorted colors. All craft stores sell them. 
* Keep wet and dry paper towels around to clean up mistakes. If you make a mistake (like I did) you can wipe off the paint right away and start over. 
Personalized Beach Pails
How to write names on beach pail

I gave these out to my second graders right before summer vacation. On each pail, I wrote the 
student's name and drew a picture. My co-teacher and I also filled the pails with books, and candy. The kids were so excited.


Wednesday, August 6, 2014

My 5 Favorite Fonts {for Teachers}


Below are the links to my 5 favorite fonts for teachers.


1. KG This Is Not Goodbye by Kimberly Geswein
This font comes as part of a package. Over 230 awesome fonts for free!!
 
2. KG Part of Me by Kimberly Geswein
This font is part of the package mentioned above. If you choose, this one is available individually for free download by clicking the link.  
 
3. Hello Millionaire by Jen Jones
This font, like the previous two, resemble handwriting. Really neat and clear handwriting. I love using these 3 for word walls, and notes home to parents. This font is part of a package. It is free to download!
 
4. Stanford Kinderprint Dashed by Jessica Stanford
This font comes as part of a collection. For $10 you get 37 different fonts including this one. I love to use this when making worksheet for my students or activities for the Smart board. The print is clear and the dashed line helps students to trace.  
 
5. Janda Manatee by Kimberly Geswein
This font is great for charts and for sight word worksheets where students color the word. It's also by KG fonts and free to download by clicking the link.

Saturday, August 2, 2014

Back to School: DIY Personalized Pencil Case

September is just around the corner and back to school sales have already started. This is a tutorial for a personalized pencil case. There's not much to this really. Once you have your supplies- you draw. That's it.
 
Supplies:
  • A plastic pencil case. This one was from Staples.
  • Elmer's Painters paint markers in assorted colors.
*Keep wet and dry paper towels close by. If you make a mistake with the paint marker, it will easily wipe off while it's still wet.
 
 
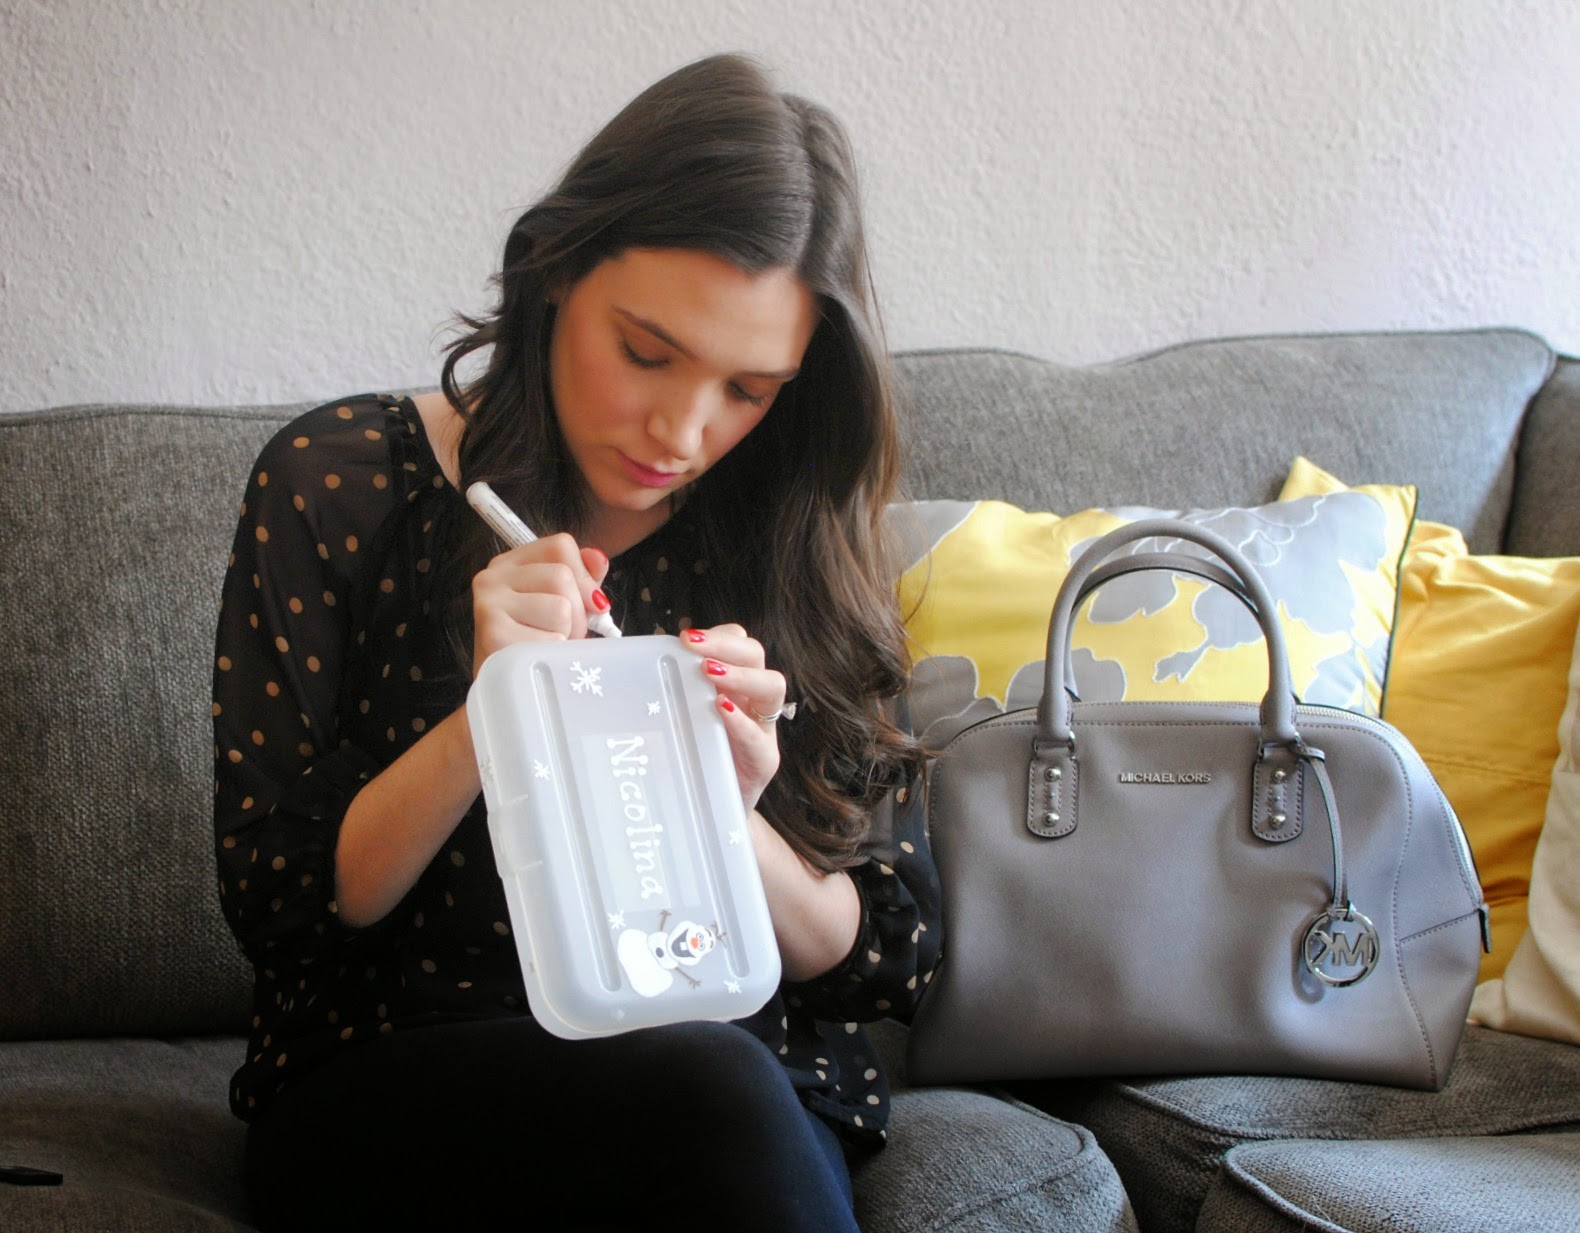
Step 1: Use your paint markers to draw a design. I chose a character from Frozen. I recommend googling simple pictures of your idea as a guide. Once you choose your image - keep it close by for reference. This part will take you the longest. As seen in the picture, paint your lightest colors first and let dry before layering other colors on top. It takes a few minutes to dry completely.
Step 2: Write the name. This was tricky for me. The middle part of this pencil case had a glossy finish and some of my paint markers did not hold very well. I wiped them off, and tried another, eventually going with white.
Step 3: Decorate the rest of the box. I used super simple snowflakes. (intersecting lines)
Finished Product


Tuesday, July 15, 2014

DIY Personalized Lesson Plan Book Cover

I have been an elementary school teacher for four years. The first two summers of my career were spent looking for the perfect lesson plan book. Something that had plenty of space to write, and the correct number of boxes to fit my school's schedule. Even when I found the greatest plan book I found myself stuffing meeting notes, "To do" lists, and papers to grade inside. It was a mess!

Finally, I started making my own all in one book. It always starts off slim and by the end of the year is a very heavy, very big binder, that is organized and houses everything I could possibly need. 

This tutorial is for the cover of that plan book. If you're not a teacher, this could be used to make a cover for anything- wedding plans, emergency documents, your children's artwork, etc. This tutorial is completely customizable. 

You pick the background - You pick the font - You pick the writing. 


Supplies: 
  • Your computer, printer, and Powerpoint
  • Paper or cardstock
Other Items Used: 
  • Font Download: Lavanderia Regular
  • Clipart: Labels & Frames 126 from Katies Wish on Etsy.


Step 1: Open Up Powerpoint
 
Step 2: Go to the Design tab and then Slide Orientation. Click on Portrait


Step 3: Right click the page and click on Format Background. This is where you will pick the background for your cover. Before I did this, I googled "gray chevron", picked one out where the pattern took up the whole image and saved it to my computer. 

YOU CAN GOOGLE ANYTHING AND MAKE IT YOUR BACKGROUND. 

Click on picture or texture fill, then File to choose your photo. After you choose your image, click Close. 

 Here it is! 

Step 4: Now to add the text box. Click on Insert and Picture. Then you're going to choose your image. As mentioned in the beginning of the tutorial, I had previously found and downloaded the swirly boxes on Etsy. You can google similar images or purchase them.


 Step 5: Adjust to size. 


Step 6: Add your text. THIS CAN BE ANYTHING THAT YOU WANT. 
Click Insert and Text Box and then click inside the box. Type in your text, and edit the font, font size, and color to fit your preference.