So how do you capture a laugh, a jump, or any action with your camera? The short answer is by controlling the shutter speed.
Shutter Speed
What is shutter speed and why is it important?
Think of your camera lens like a human eye. The shutter speed is how fast or slow the lens "blinks".
When the camera lens is open, it "sees" your subject and all the light around it.
When the camera lens shuts all the information is compressed into 1 picture.
Shutter speed is a measurement of how fast the lens shuts. This controls how much light and how much information gets recorded on that image.
When would you want a fast shutter speed?
A fast shutter speed like 1/200 (1/200th of a second!) means the lens is only open for a short amount of time. A lower amount of light can get in during that time( making the image darker), but it also only captures only what happened during that brief moment in time. This helps to "freeze" action.
In the image below, my handsome nephew was on the swings. He was swinging up and down and laughing. I needed to freeze that action with a fast shutter speed. Otherwise it would look like a blurry mess. I then had to adjust the other 2 settings (Apeture & ISO) to compensate and add light back into my image. In general, I try not to go below 1/100 when shooting people.
When do you want a slow shutter speed?
If you are photographing a still object, a slower shutter speed will allow you to get a brighter image. However, you have to be careful not to make it too slow. We naturally move a little when holding the camera and just a slight movement (think inhale, exhale) can result in blurry images if the shutter speed is slow. A solution to this is using a tripod or monopod. This helps steady the camera and reduce shake. In the image below I was able to use a slower shutter speed because my object wasn't moving. However, if it was a windy day, this would not have worked.
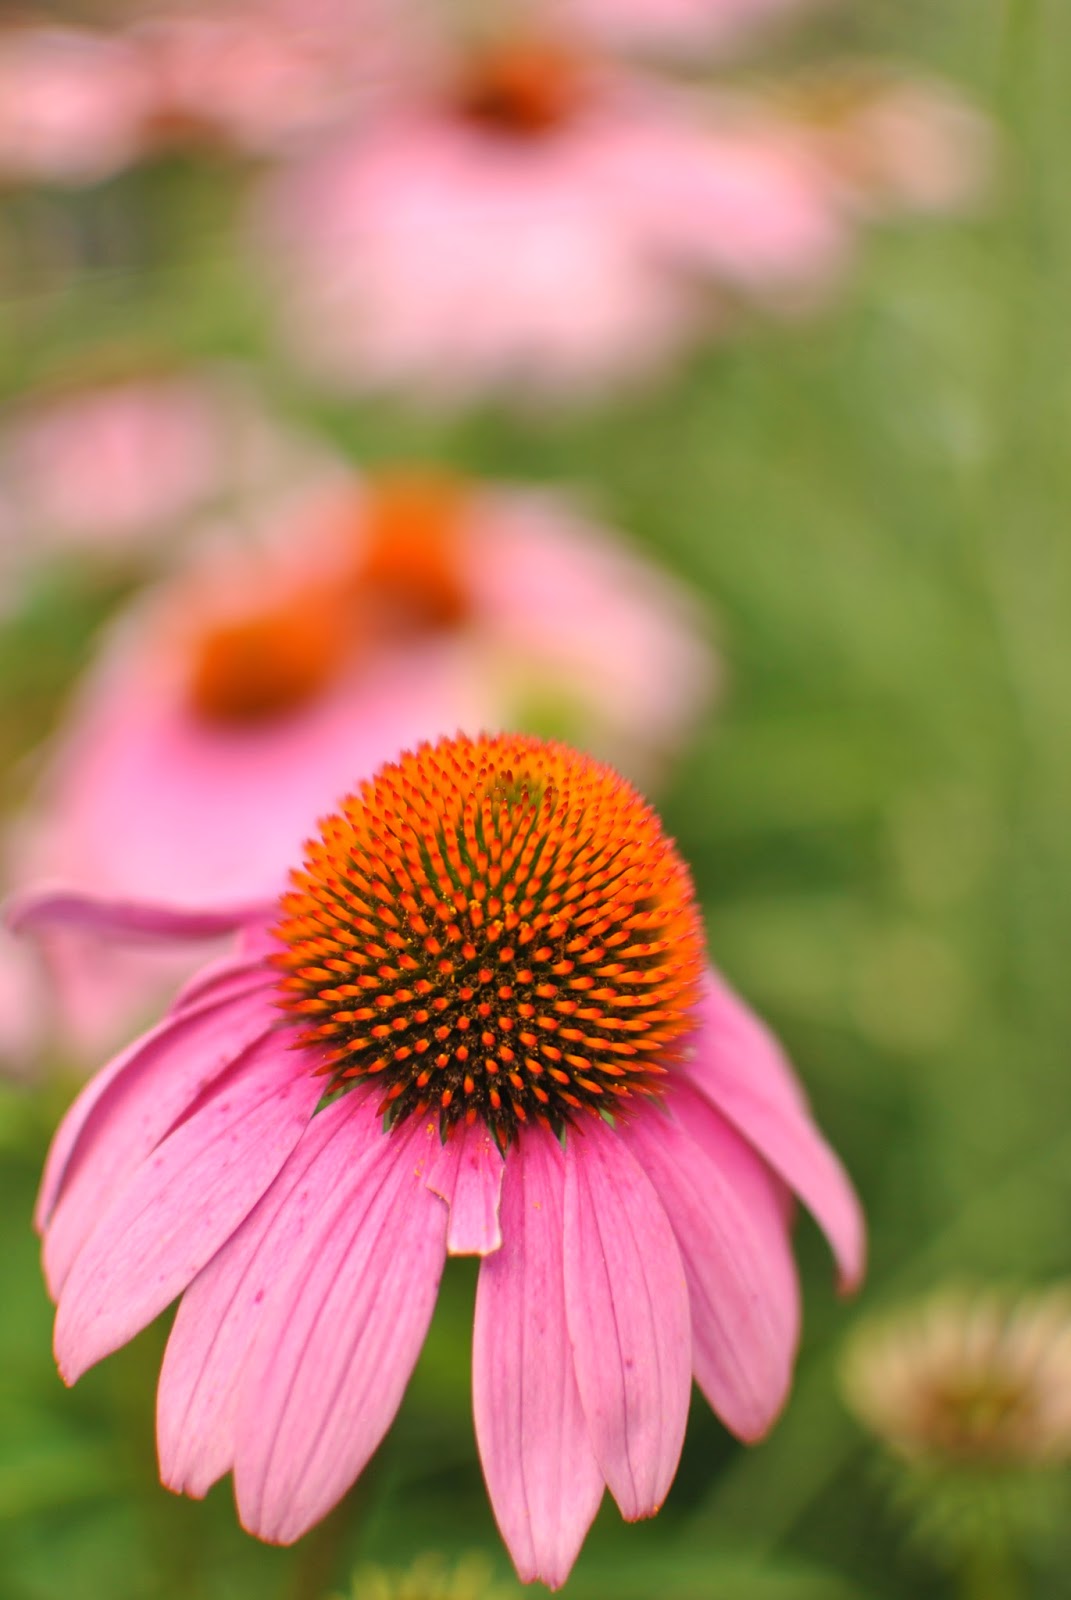 |
| To get a blurry background like this I used an aperture of f1.8 |
ISO
ISO is a measure of your camera's sensitivity to light. You can adjust your camera's ISO setting to add or subtract light from your pictures. It sounds simple, and it is, but there is a catch. When you use a high ISO, it introduces "noise" into your pictures. This means your pictures taken with high ISO will be brighter, but will have a grainy look rather than a smooth appearance.
When would you want a high/low ISO?
When shooting outside during the day you can usually set your ISO to a low number like 200. When shooting indoors, I usually shoot using at least 800, and sometimes up to 6400! If I did not increase the ISO, I would have to bring the shutter speed down so slow that my pictures would be blurry. Higher end cameras allow you to use a higher ISO with minimal noise.
Putting it all together: Go Try Shooting in Manual
After learning about these 3 settings and messing around in priority modes, I felt like I understood what they meant and how to use them individually. However, when I switched to manual mode I didn't understand how I was supposed to know what needed to be adjusted. Then I learned about a nifty tool called a light meter or an exposure meter. This is on your camera. It might be on the top, on your screen, or in the viewfinder.
There is a zero in the middle. Your goal is to adjust the 3 settings so that your dial ends up on or close to zero. This means that your image will be correctly exposed.
When I shoot an object or a portrait, I think about what settings are the most important to me.
First, I choose my ISO depending on where I am ( inside, outside) and how bright it is.
Next, I adjust my aperture because it is important to me that I get a blurred background.
Last, I look through my viewfinder and adjust the shutter speed so that my light meter reads at zero.
Finally, I do a few test shots. This shows me how the settings are performing together. If I find that the shutter is too slow, I make it faster and bump up my ISO instead.
This is Part 3 of the series, How to Shoot in Manual Mode. Click the links below for


