Showing posts with label Photography. Show all posts

Tuesday, March 17, 2015

How to Shoot in Manual Post: Part 3 Freezing Action


So how do you capture a laugh, a jump, or any action with your camera? The short answer is by controlling the shutter speed.

Shutter Speed

What is shutter speed and why is it important?
Think of your camera lens like a human eye. The shutter speed is how fast or slow the lens "blinks".
When the camera lens is open, it "sees" your subject and all the light around it.
When the camera lens shuts all the information is compressed into 1 picture.
Shutter speed is a measurement of how fast the lens shuts. This controls how much light and how much information gets recorded on that image.

When would you want a fast shutter speed?
A fast shutter speed like 1/200 (1/200th of  a second!)  means the lens is only open for a short amount of time. A lower amount of light can get in during that time( making the image darker), but it also only captures only what happened during that brief moment in time. This helps to "freeze" action.

In the image below, my handsome nephew was on the swings. He was swinging up and down and laughing. I needed to freeze that action with a fast shutter speed. Otherwise it would look like a blurry mess.  I then had to adjust the other 2 settings (Apeture & ISO) to compensate and add light back into my image. In general, I try not to go below 1/100 when shooting people.


When do you want a slow shutter speed?

If you are photographing a still object, a slower shutter speed will allow you to get a brighter image. However, you have to be careful not to make it too slow. We naturally move a little when holding the camera and just a slight movement (think inhale, exhale) can result in blurry images if the shutter speed is slow. A solution to this is using a tripod or monopod. This helps steady the camera and reduce shake. In the image below I was able to use a slower shutter speed because my object wasn't moving. However, if it was a windy day, this would not have worked.
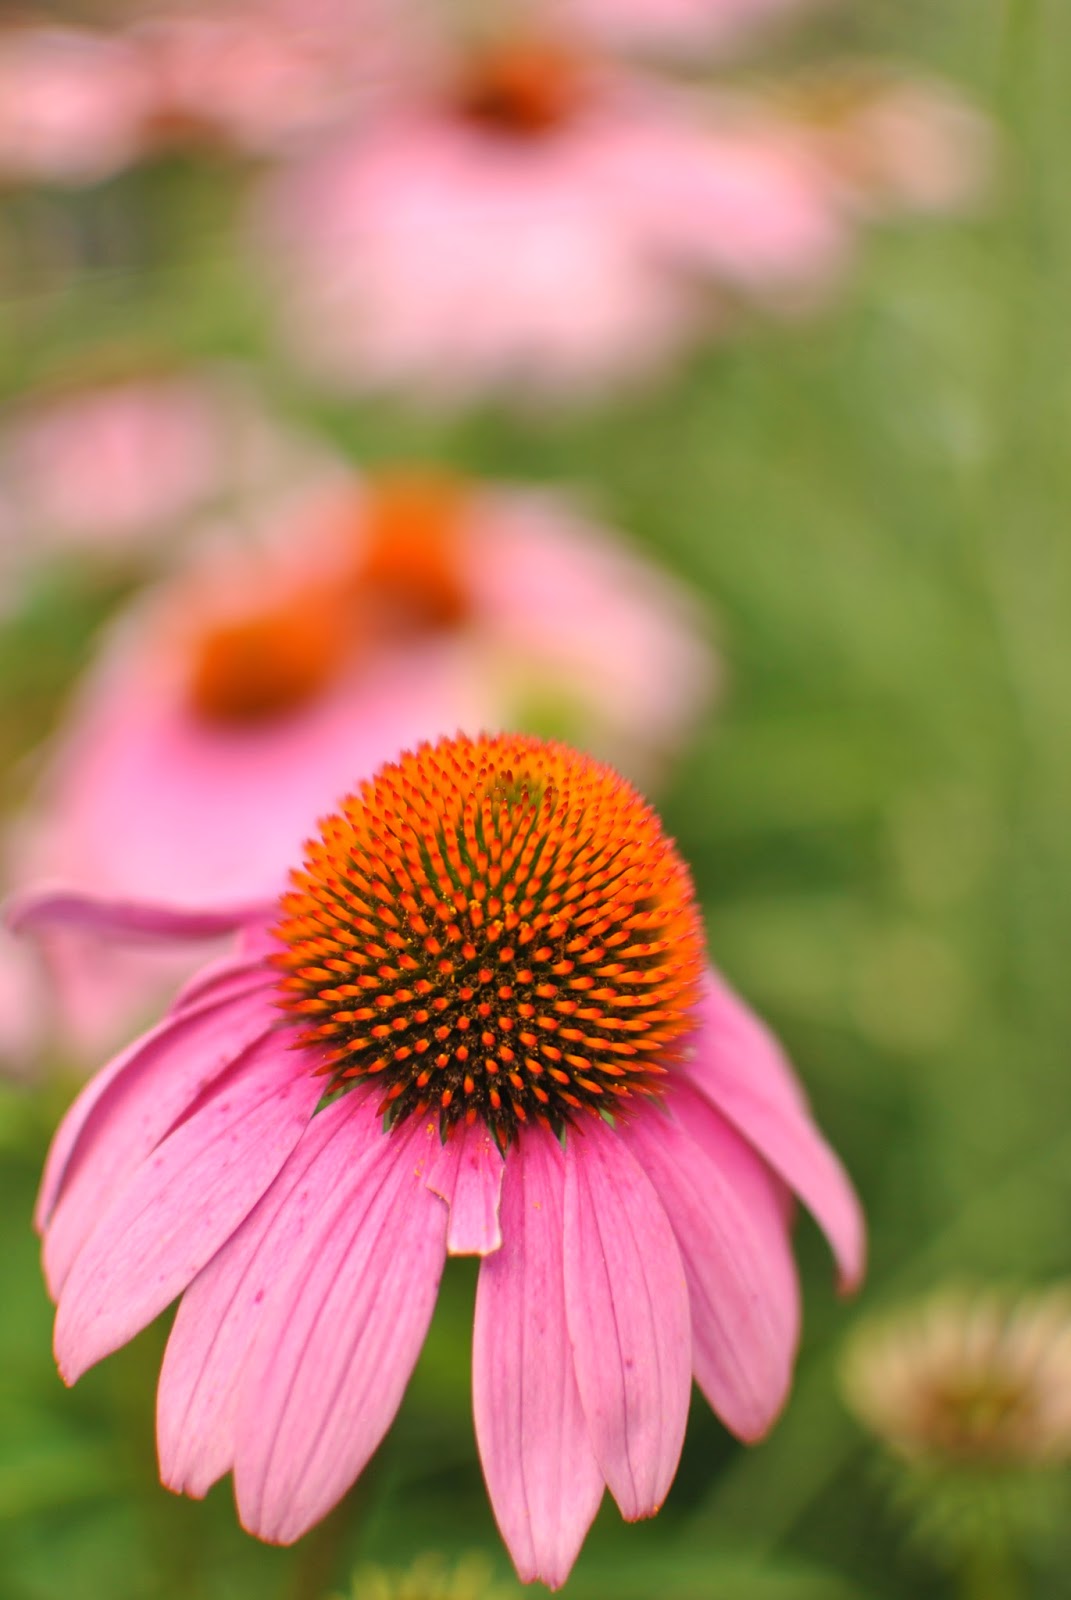

To get a blurry background like this I used an aperture of f1.8

ISO

ISO is a measure of your camera's sensitivity to light. You can adjust your camera's ISO setting to add or subtract light from your pictures. It sounds simple, and it is, but there is a catch. When you use a high ISO, it introduces "noise" into your pictures. This means your pictures taken with high ISO will be brighter, but will have a grainy look rather than a smooth appearance.

When would you want a high/low ISO?
When shooting outside during the day you can usually set your ISO to a low number like 200. When shooting indoors, I usually shoot using at least 800, and sometimes up to 6400! If I did not increase the ISO, I would have to bring the shutter speed down so slow that my pictures would be blurry. Higher end cameras allow you to use a higher ISO with minimal noise.


Putting it all together: Go Try Shooting in Manual

After learning about these 3 settings and messing around in priority modes, I felt like I understood what they meant and how to use them individually. However, when I switched to manual mode I didn't understand how I was supposed to know what needed to be adjusted. Then I learned about a nifty tool called a light meter or an exposure meter. This is on your camera. It might be on the top, on your screen, or in the viewfinder.


There is a zero in the middle. Your goal is to adjust the 3 settings so that your dial ends up on or close to zero. This means that your image will be correctly exposed.

When I shoot an object or a portrait,  I think about what settings are the most important to me.
First, I choose my ISO depending on where I am ( inside, outside) and how bright it is.
Next, I adjust my aperture because it is important to me that I get a blurred background.
Last, I look through my viewfinder and adjust the shutter speed so that my light meter reads at zero.
Finally, I do a few test shots. This shows me how the settings are performing together. If I find that the shutter is too slow, I make it faster and bump up my ISO instead.

This is Part 3 of the series, How to Shoot in Manual Mode. Click the links below for 


Friday, March 13, 2015

How-to Shoot in Manual Mode: Part 2 How to Get a Blurry Background


Photography is all about manipulating light to artistically capture moments. There are 3 settings on your camera that are used to manipulate light. Shooting in manual means that you will control all 3 of these settings. These are...

1. Aperture
2. Shutter Speed
3. ISO

Each of these settings does something different. However, all of these settings effect how light or dark a picture is. I hope to teach you how to adjust your settings to get your picture to look a certain way, and how to balance the 3 settings so that your picture is correctly exposed.

Aperture

Aperture is my favorite photography setting. In my opinion, it changes moments in time into art. It helps to tell a story.

Aperture is the setting on your camera that selects how much of the picture is clear or "in focus". Aperture is measured in "f-stops". Depending on your lens your f-stops will measure between f1.2- f22.

The lower the f-stop (1.2) the blurrier the background will be, and the smaller the focused area will be. A lower number also means a brighter photo.

A higher f-stop (22) will make all of your picture clear and in focus. It will also be a darker photo.


When would I want to use a low f-stop?
I shoot using a low aperture like 1.4 or 2.8 as often as I can. I love the look of a dreamy blurred background. I can get away with this tiny focus area when photographing one person, or an object. I will sometimes bump it up to 3.5 to get more of an area in focus, or when taking pictures of more than 1 person.

When do I want to use a high f-stop?
If you want everything in focus like your kids, and the grass, and trees behind them, choose a high f-stop. This will capture the details in everything. I also use a higher f-stop when photographing groups. This way everyone's face is in focus.


Go try:
Shooting in Aperture Priority mode. There is usually a dial on the top of your camera that says "A".Using this setting, you select the aperture using your menu or a dial and the camera will take care of everything else.  Every camera is different so check your manual for how to adjust the aperture on your camera.  Try shooting an object using the lowest aperture that you have. If you only have the lens that comes with your camera it is probably 3.5 - 4.5. Aim your camera to focus on your object and take your picture.
Then try adjusting your camera to a higher aperture like f11 or f22 and shoot the same picture. Play around with it.

Tuesday, July 29, 2014

My Favorite New Product: The Camera Wrap

I love my DSLR camera! When I first bought it, I saw a difference instantly in the quality of my photos- even in auto. Then my pictures really improved when I upgraded from the kit lens to a 35mm 1.8 prime lens and 50mm 1.4. I was finally able to master the blurry background that I loved. Finally, the pictures improved even more when I learned to shoot in manual mode.
However, even after spending all that time to learn, and the money on the equipment, I barely used the camera! A major reason for that was I HATED carrying it around. I would have to bring a big bag, that fit my huge padded camera case to make sure I didn't scratch the display with my keys or anything else in the bag. The bulky case also had a clip and zipper closure which made it a mission to take it out and put it away between snapping pictures.
Then, I bought this...


This is the Camera Wrap from kmdesigns09. It is a small camera case/camera insert made to fit in any bag! It's protective and practical and comes in 4 colors - red, hot pink, turquoise, and black(shown). You give them the dimensions of your camera and they make you a padded wrap that secures with Velcro. I was able to order the standard size for my camera (5"x4"x6") but there is no extra charge for the custom sizing. It holds the camera snug to keep it in place and takes up WAY less space in my bag. I was also going to purchase another wrap a tiny bit larger to fit my camera when it's attached to my tripod clip, but because the whole wrap secures with Velcro, I was able to adjust it to fit both with and without the clip.
I debated between the camera wrap and camera cube for a while. I figured the cube would be easier to quickly reach for and get great action shots of Baby M, but the wrap with the added closure on top made me feel safer when stuffing it into my diaper bag just incase something spilled or fell on top of it. Plus the Velcro would make it easier to access even with the top.
The best part about this was the price. The Camera Wrap was only $25 and the Camera Cube was only $20! Now I actually bring my DSLR camera out of the house resulting in much better photos.