

Hi, My name is Jen and I procrastinate on a professional level. When it comes to gift wrapping, I usually wait until the night before or the day of the event to wrap the gift. The only exception is Christmas where due to the sheer volume of gifts, I wrap as I buy.
When wrapping an actual present, I rarely have labels available. When this occurs, I am so happy that I am deeply obsessed with paper punches. They have saved the day and in my opinion are worth the price. They come in all shapes and designs from basic circles and squares to intricate and downright lovely. Below is a tutorial for personalized gift tags that can be used for any occasion depending on your tools or creative bravery. They also work great for birthday party, bridal shower, or baby shower favors.
Supplies:

These are the tools I used. I did leave out the stroller punch. If you're interested it is by Fiskars.
- Tag cutout. ( To be honest, you can cut out a rectangle by hand, or purchase tags from Staples or any craft store.)
- Paper punches to suit your occasion. (Various etsy sellers also sell the punched out shapes for around $1. This is great if you need only a few designs- such as for baby shower, or birthday party favors and don't want to spend the $5-$25 for the punch or if it is discontinued)
- Martha Stewart: Diamond Ring
- Martha Stewart: Bow Punch
- EK Success: Square Punch
- Mary Uchida: Tag Punch
- Glue stick
- Markers ( if you want to write names, sentiments, etc)
- Thick Cardstock-Like paper ** I used unlined index cards which is cheaper**
- A hole puncher
Step 1: Cut out your tags. (Skip this is you purchased them or cut them out yourself.)


Step 2: Cut out your designs. You can either punch directly into the tag utilizing the negative space, or glue on your design.


Step 3: Add writing if desired.


Step 4: Punch a hole in the top of your tag with a hole puncher. This is only necessary if you are attaching with a string. You can also just tape it to your gift/favor.

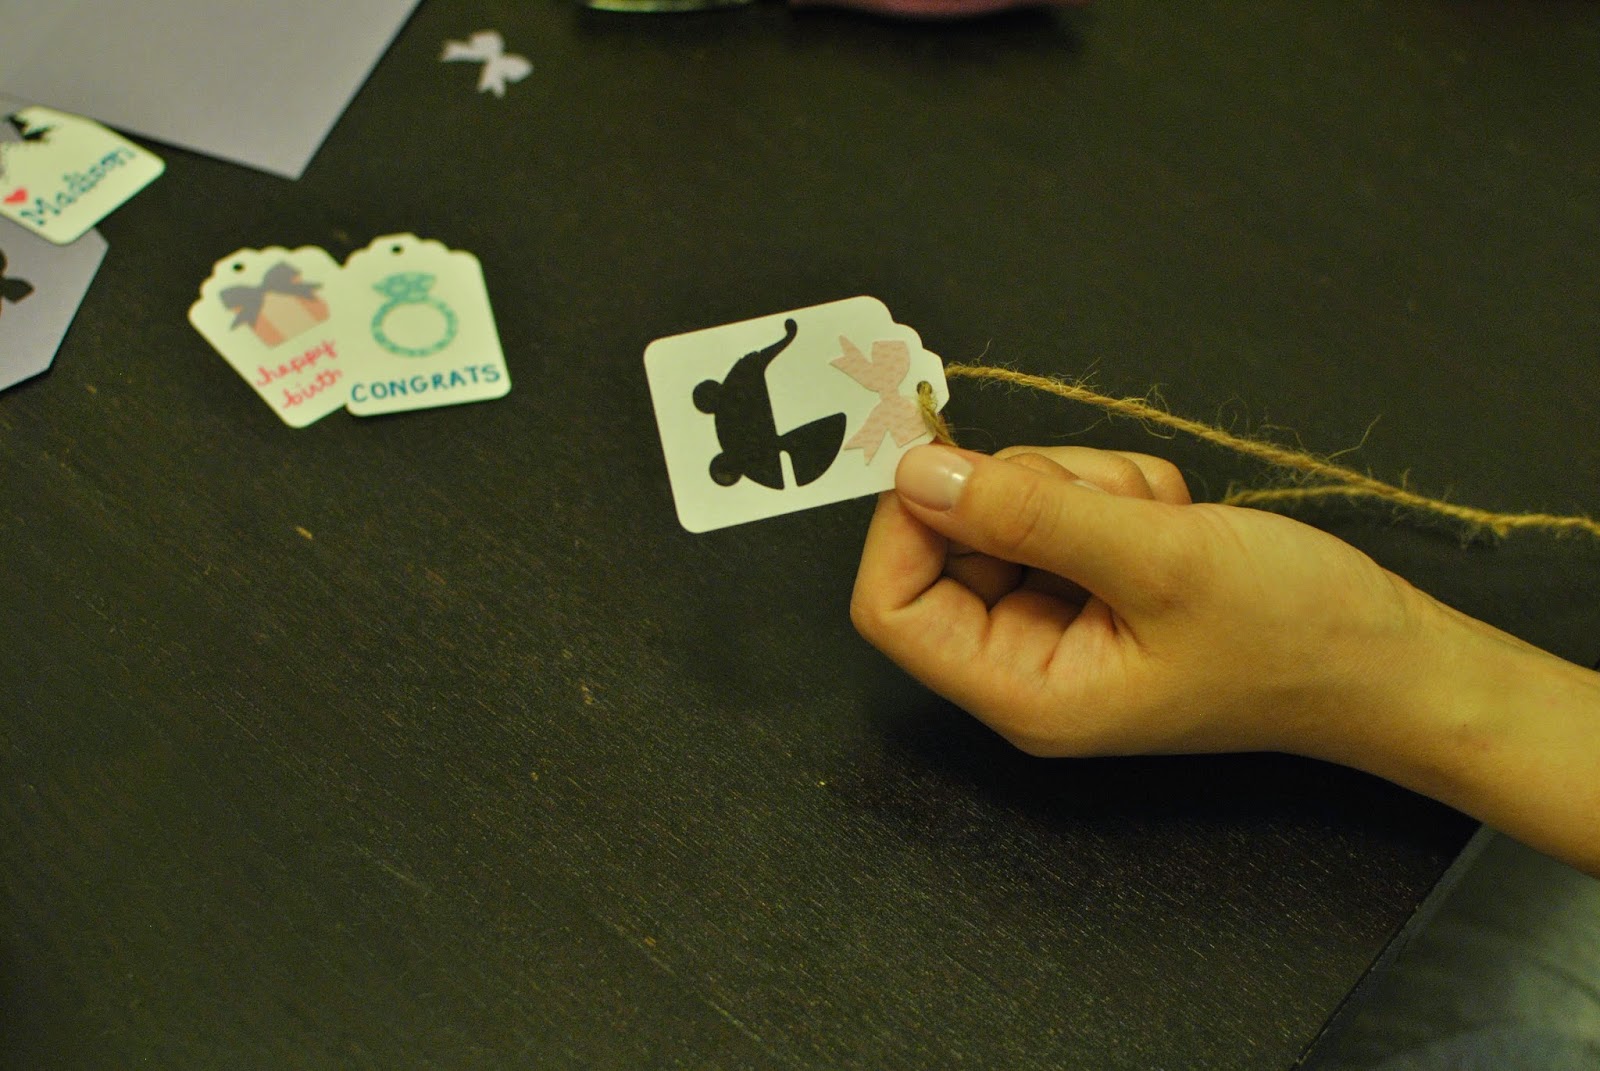
Step 5: Attach your tag to your gift or favor.


Any questions? Comment.


No comments:
Post a Comment